Why Is My Aloe Vera Turning Yellow? Causes, Fixes, and Prevention

September 8, 2026
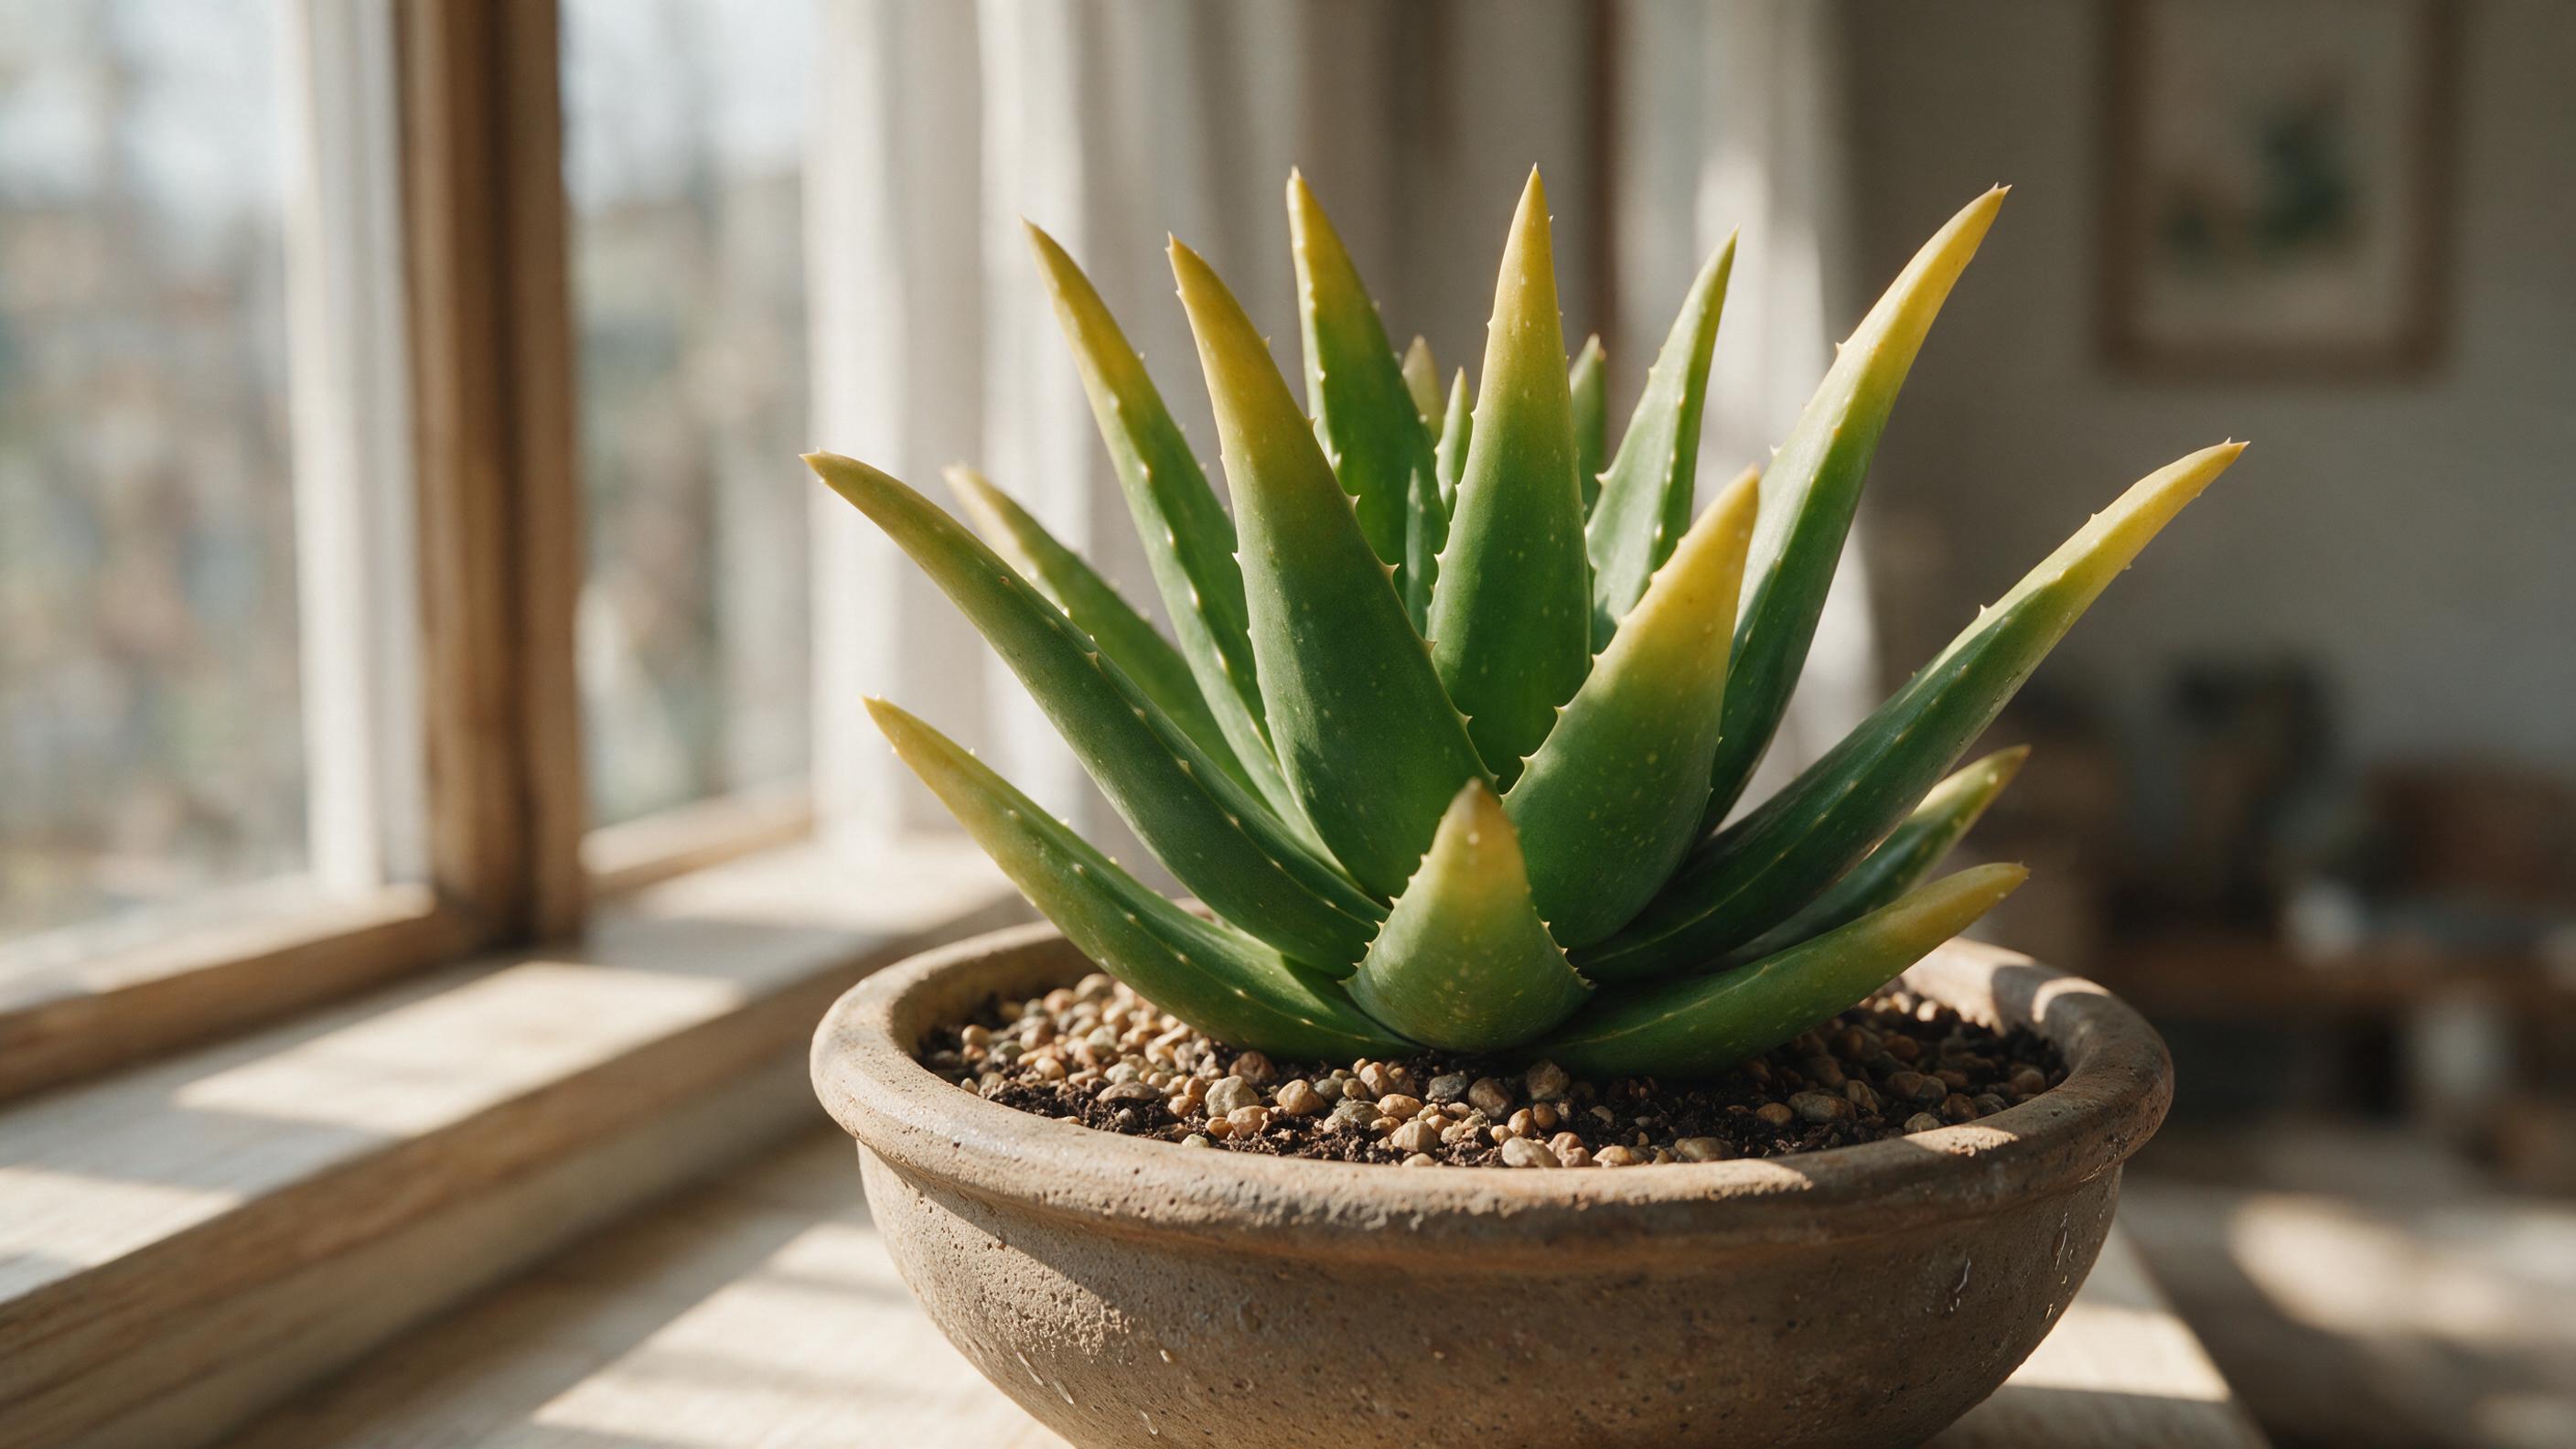
You glance at your aloe vera and notice the leaves have shifted from a healthy green to a pale, washed-out yellow. It’s an unsettling sight, especially for a plant that’s supposed to be nearly indestructible. The good news is that yellowing almost always has a fixable cause — you just need to know where to look.
Aloe vera is celebrated for its resilience and healing gel, but when its thick, succulent leaves begin fading from emerald green to pale yellow or mustard gold, that color change signals physiological stress, often rooted in cumulative care missteps rather than sudden disease. Understanding what’s driving the change is the difference between a quick fix and watching your plant decline further.
This guide walks you through every major cause of yellowing in aloe vera, how to accurately diagnose your specific situation, and the step-by-step fixes that will get your plant back on track. Whether you’re a first-time grower or a seasoned plant parent, you’ll find clear, actionable answers here.
What Does It Mean When Your Aloe Vera Is Turning Yellow?
Healthy aloe vera plants are grey-green or blue-green in color, with vibrant green young leaves. Any departure from that color range is worth paying attention to. When your aloe vera starts turning yellow, it’s signaling stress. Unlike temporary discoloration, persistent yellow leaves indicate an underlying issue that needs correction.
True yellowing signals one or more of five core stressors: hydric (water-related), thermal (temperature), photonic (light), nutritional, or pathogenic. The location and texture of the yellowing give you important clues. Yellowing that starts at the base often points to root or drainage problems, while uniform pale yellowing across new growth typically signals a light issue.
A leaf that turns yellow is one a plant is probably about to shed, so even if the original issue is resolved, be aware that it won’t usually green up again. That’s normal — your goal is to stop the spread, not to reverse what’s already happened. Once you identify the cause and correct it, new growth will come in green and healthy.
Pro Tip: Pay attention to which leaves are yellowing first. Lower, older leaves yellowing gradually is less alarming than multiple mid-plant leaves turning yellow at once, which usually points to a more urgent problem like root rot or severe overwatering.
Is Yellowing in Aloe Vera Always a Sign of a Problem?
Not all yellowing aloe leaves are cause for alarm. The leaf could be reaching the end of its natural life. Unlike deciduous perennials, aloe doesn’t shed leaves seasonally. Yellowing leaves are not “natural” unless they’re the oldest, lowest pair — gently detaching at the base after 18–24 months. Even then, the transition is gradual, dry, and parchment-like — not soft, translucent, or spongy.
So how do you tell the difference between natural aging and a real problem? Look at the texture and location. A single, outermost leaf that feels papery and dry as it slowly fades is likely just reaching the end of its lifespan. But if the yellowing is soft, mushy, or spreading across multiple leaves at different positions on the plant, something else is going on and needs your attention.
Sufficiently watering, but not overwatering, providing indirect, but not too intense, light, as well as maintaining a moderate indoor temperature, can prevent yellowing from happening in the first place 75% of the time. The remaining causes are either natural leaf turnover or less common stressors like pests and disease — both of which are covered below.
Watering Issues Causing Aloe Vera Yellowing
Overwatering is the single most common reason aloe turns yellow indoors. What most growers do not realize is that the yellowing is not caused by too much water in the leaves — it is caused by what happens to the roots underground. When soil stays saturated, the air pockets between soil particles fill with water. Roots need oxygen to generate ATP, the cellular energy molecule that drives nutrient and water uptake. In waterlogged, anaerobic conditions, roots cannot function and begin to die. Once the root system breaks down, the leaves above lose their supply of water and nutrients, turn yellow, then soften and become translucent as cell walls rupture.
An overwatered aloe vera has mushy, translucent leaves that turn yellow or brown. The base may feel soft, and the soil stays wet for days. If roots are black and smelly, root rot is likely present. On the flip side, chronic underwatering triggers a different yellowing pattern: older outer leaves turn papery yellow-brown at tips first, then develop longitudinal wrinkles. This reflects osmotic stress — cells dehydrating faster than the plant can mobilize stored water from leaf tissue.
Here’s a quick comparison to help you tell the two apart:
| Symptom | Overwatered | Underwatered |
|---|---|---|
| Leaf texture | Soft, mushy, translucent | Firm but wrinkled, papery at tips |
| Yellowing location | Starts at base, spreads upward | Tips and outer leaves first |
| Soil condition | Stays wet days after watering | Bone dry, pulling away from pot edges |
| Root condition | Dark, slimy, foul-smelling | Dry, brittle, sparse |
| Pot weight | Feels heavy | Feels very light |
Water only when the top 3 inches of soil are bone-dry, the pot feels significantly lighter, and a moisture meter reads 2 or below. In summer, this may be every 10–14 days; in winter, every 4–6 weeks. Always water deeply — until water runs freely from drainage holes — then empty the saucer immediately.
For a deeper look at getting aloe watering right, see our full guide on how to care for an aloe vera plant.
Light Conditions Behind Aloe Vera Yellowing
Aloe vera thrives in bright, indirect sunlight. However, placing it in full afternoon sun through a south-facing window can cause photodamage. Symptoms include yellow or white patches on upper leaves. This is a common mistake in American homes with large south-facing windows — the intense afternoon sun in summer is far more intense than what aloe encounters in its natural habitat.
Contrary to popular belief, aloe vera doesn’t thrive in full desert sun indoors. In nature, it grows beneath the partial shade of acacia trees or rocky outcrops — receiving bright, filtered light for 4–6 hours daily. Think of a bright east-facing windowsill or a spot a few feet back from a south-facing window as the sweet spot for most US homes.
Prolonged low light causes etiolation: leaves stretch toward the source, become thin and floppy, and lose chlorophyll density. The result is a uniform, pale yellow-green hue across new growth — especially noticeable when compared to older, deeper-green leaves. Photosynthesis slows, energy reserves deplete, and the plant redirects resources to survival, not color retention.
While indoors, aloe grows best where it gets either several hours of direct sunlight close to a window or is placed under plant grow lights that can supplement or replace natural light if window light is insufficient. If you’re in a northern US state with limited winter sun, a simple LED grow light on a timer can make a significant difference between November and March.
Pro Tip: Rotate your aloe a quarter turn every two weeks so all sides receive equal light exposure. This prevents the plant from leaning and developing uneven yellowing on the shaded side.
Soil, Nutrients, and Root Health Causing Aloe Vera Yellowing
The soil your aloe sits in matters as much as how often you water it. Even with infrequent watering, yellowing persists if the growing medium retains excess moisture. Standard potting soil, garden soil, or peat-heavy mixes hold water like sponges — creating anaerobic conditions around roots. Aloe requires rapid drainage: a blend where at least 50% consists of inorganic, non-decomposing particles such as perlite, pumice, or coarse sand, and no more than 30% organic matter.
Container size and drainage are also important. If your pot is too large, the amount of soil used to fill it will be more than what your aloe needs. A small aloe in a pot that is too big will be sitting in soil that stays too wet for too long. The plant simply cannot use the water supplied fast enough, and the excess water can cause aloe leaves to yellow.
On the nutrient side, aloe is a light feeder — but deficiencies can still cause yellowing. Nutrient deficiencies can cause leaf discoloration. Lack of nitrogen and/or iron will cause leaves to yellow. Usually it’s the older, lower leaves of a plant turning yellow that indicate a nitrogen deficiency. Over-fertilizing is equally problematic: aloe thrives on lean diets, and over-fertilizing is more damaging than under-fertilizing. Excess nitrogen promotes weak, sappy growth vulnerable to disease and discoloration.
Excess fertilizer can cause chemical burns to the plant, even when that food is all-natural. Additionally, the soil will slowly suffer a buildup of salts and other mineral content due to plant food and possibly your choices in water. Always feed your plant as instructed and change out the soil once every 1 to 2 years to avoid buildup.
Root health ties everything together. Healthy roots will be firm, thick, and intertwined, typically yellow, orange, or light brown in color. Rotting roots, on the other hand, are usually dark brown to black, slimy to the touch, may detach easily from the stem, appear sparse, or may be missing altogether.
You can explore the many different types of aloe vera plants to understand how root and soil needs vary slightly between varieties.
Environmental Stress Triggering Aloe Vera Yellowing
Aloe vera prefers temperatures between 55°F and 80°F (13–27°C). Cold drafts from windows or air conditioning units can chill roots, impairing function and causing yellowing. Similarly, hot air from heaters dries out leaves rapidly. This is a particularly common issue in American homes during winter, when heating vents run constantly and windows let in cold air.
Temperatures below 50°F (10°C) slow enzymatic activity in cell membranes, disrupting ion transport and causing electrolyte leakage. This leads to chloroplast disintegration and rapid yellowing — often overnight — especially when combined with damp soil. Indoors, yellowing commonly occurs near drafty windows in December through February or on balconies where nighttime temps dip below 45°F. Cold damage is irreversible at the cellular level. Affected leaves won’t green again — but new growth can be healthy if stress ceases.
Abrupt seasonal changes can also cause acute stress. When plants are adapted to warm weather, a sudden shift to very cold weather — such as an unseasonal freezing cold night or sudden frost — can acutely stress plants. Cold-affected plants will usually display a yellowing of the leaves, and frosts will burn the tips of aloe vera plants.
Transplant shock is another environmental trigger worth knowing about. Minor stress after repotting can cause temporary yellowing, known as transplant shock. This usually resolves within 1–2 weeks. Avoid fertilizing or overwatering during recovery.
Pests and Disease Leading to Aloe Vera Yellowing
Signs of a pest issue include spots on leaves, leaf yellowing, visible evidence of pests, and stunted or unusual growth. If your plant’s leaves are exhibiting unusual spots, are going yellow, or even drooping, it’s likely that you have a problem with sap-sucking insects such as aphids, mealybugs, or scale.
Aloe vera aphids are among the most destructive pests. They have an oval body that’s either green or orange-brown and covered with a thin layer of white wax. Aloe vera aphids live around the base and rolled tips of the leaves, where they feed and hide from predators. In large numbers, they can cause severe damage. Sooty mold and aphid infestations go hand in hand. The fungal disease develops on the trail of honeydew that the bugs deposit on the leaves.
On the disease side, aloe rust is a fungal disease caused by Phakopsora species. It first appears as tiny pale yellow circles on the upper leaf surface that gradually darken to brown as spore masses form. Unlike the diffuse yellowing from watering or light problems, rust spots are circular with defined edges, and may show orange pustules on the leaf underside in cool, humid conditions.
The fungi responsible for root rot — primarily Phytophthora, Pythium, and Fusarium species — are always present in potting mix in low numbers. They remain harmless until oxygen-depleted conditions tip the balance in their favor. This is why good drainage is your best disease prevention tool.
For pest control, aphids, scale, and mealybugs can usually be controlled by spraying the plant and pests with a mixture of equal parts of alcohol and water. You can also keep aphids off your aloe plant with dish soap diluted in water and sprayed on the infested succulent. Always isolate a pest-affected plant from your other houseplants right away.
If you grow multiple houseplants together, check our guide on how to keep cats out of houseplants — curious pets can spread pests between plants or damage stressed foliage.
How to Diagnose Why Your Aloe Vera Is Turning Yellow
The fastest way to find the cause is to work through a simple checklist based on where the yellowing appears and how the leaves feel. Getting the diagnosis right is the whole game. A common pattern is a grower who spots yellow leaves and immediately reaches for the watering can — which makes the actual problem worse.
Follow these steps in order:
- Check leaf texture first. Soft, mushy, or translucent leaves point to overwatering or root rot. Papery, wrinkled tips point to underwatering or heat stress. Firm leaves with circular spots suggest fungal disease or pests.
- Check leaf location. Yellowing at the bottom could indicate old age. If it’s all over, you might have a watering issue on your hands. Yellow patches on upper leaves only often indicate sun damage.
- Check the soil. Feel the soil about an inch deep and only water when it has become pretty dry to the touch at that depth. If the soil is still soggy days after your last watering, drainage is the problem.
- Inspect the roots. To check for root rot, invert the pot over a trash can or tarp, keeping your fingers around the aloe’s stem as you gently wiggle off the pot. Loosen the soil carefully around the roots and examine the root tissue.
- Check for pests. Look at the undersides of leaves and around the base of the plant for small insects, sticky residue, or webbing. Insect and arachnid pests that drink plant sap are a very common problem and sometimes go unnoticed until they’re well-established. It may sometimes be easier to catch these pests on an aloe plant, as they normally hide on the undersides of leaves.
- Consider recent changes. Did you repot recently? Move the plant to a new spot? Turn on the heat for winter? Environmental changes often trigger yellowing within 1–2 weeks of the change.
Plant identification apps can also help you cross-reference symptoms. Our roundup of the best iPhone apps for identifying plants includes several tools that can help you diagnose plant health issues quickly.
How to Fix an Aloe Vera That Is Turning Yellow
The fix depends entirely on the cause, so use your diagnosis from the section above before taking action. Here’s what to do for each scenario:
If overwatering is the cause: Stop watering immediately and let the soil dry out completely. If the plant is overpotted, transplant it into a smaller pot so the potting medium will dry more easily between waterings. Be sure to empty any drained water in a saucer promptly so the pot doesn’t sit in water, as this can kill roots.
If root rot is confirmed: Trim affected roots, repot the plant in fresh, well-draining soil, and promote soil drying by adjusting watering frequency and volume. After repotting, hold off on watering for at least a full week. The roots, particularly where you made cuts, are fragile and susceptible to infection. You can use cinnamon powder or hydrogen peroxide as natural remedies to combat fungal infections in the soil.
If light is the issue: Move the plant to a brighter spot for low-light yellowing, or pull it back from intense direct sun for sunscorch. For aloe rust, dusting affected leaves with sulfur powder every 1–2 weeks slows the spread.
If cold stress is the cause: Place pots near a wall that receives midday or afternoon sun to keep overnight temperatures higher around the plants, water less often in winter, keep the plants out of the rain, and remove any saucers underneath that retain water.
If nutrients are the problem: Apply a balanced, diluted succulent fertilizer once at the start of the growing season (spring). Fertilizer should be applied at the beginning of the summer period, which is during the aloe’s active growth period. If salt buildup is visible as a white crust on the soil, flush the pot thoroughly with water to leach it out.
For pests: Isolate the plant, then treat with an alcohol-water spray or diluted dish soap solution. Trim fully yellow leaves at the base with sterilized scissors to redirect energy to healthy growth. Only remove leaves that are more than 90% yellow and feel soft — partially yellow leaves still photosynthesize and support the plant. Removing them prematurely weakens the plant.
If your aloe is in good shape overall and you’re interested in making use of its gel, read our guide on aloe vera gel and how to make aloe vera juice once your plant recovers.
Important Note: A yellowed leaf will not turn green again once chlorophyll has degraded. Your goal after fixing the cause is to see healthy green new growth emerging from the center of the plant — that’s your sign the aloe is recovering.
How to Prevent Aloe Vera Yellowing Going Forward
Prevention comes down to matching your care routine to the plant’s actual needs rather than a fixed schedule. Using the right soil mix and container is critical. Standard potting soil retains too much moisture. Instead, use a cactus or succulent mix with added perlite or coarse sand for improved aeration.
Here are the key habits that keep aloe vera green and healthy long-term:
- Water by feel, not by schedule. Feel the soil about an inch deep and only water when it has become pretty dry to the touch at that depth. In most US homes, this means watering roughly every 2–3 weeks in summer and once a month or less in winter.
- Use a terracotta pot with drainage holes. The undisputed champion for aloes is the classic, unglazed terracotta pot. Terracotta is porous, which is a huge advantage — the material itself wicks moisture away from the soil and allows it to evaporate right through the pot’s walls.
- Keep it away from drafts and vents. Monitor indoor temps with a min/max thermometer placed at plant height. Move pots away from windows when outdoor temps fall below 55°F (13°C).
- Fertilize sparingly. Once or twice a year with a diluted succulent fertilizer is plenty. Skip fertilizing in fall and winter when the plant’s growth slows significantly.
- Inspect regularly for pests. A quick look at the leaf undersides every two weeks catches infestations early, before they cause widespread yellowing.
- Repot every 2–3 years. Fresh soil prevents salt buildup and compaction, both of which restrict root health over time.
When an aloe vera plant looks unhealthy, it doesn’t take much to bring it back to health if action is taken early enough. Plants are quite capable of recovering if the conditions causing the stress are removed, and growing conditions are corrected and returned back to normal.
If you enjoy growing succulents and low-maintenance plants, explore our guides on different types of yucca plants and best houseplants for low-light areas for more options that thrive with minimal fuss.
You can also read about important reasons why you should own an aloe vera plant and the benefits of aloe vera water — motivation to keep your plant thriving!
Frequently Asked Questions
Can a yellow aloe vera leaf turn green again?
A leaf that turns yellow is one a plant is probably about to shed, so even if the original issue is resolved, be aware that it won’t usually green up again. Focus on stopping the spread and encouraging new green growth from the center of the plant instead.
How do I know if my aloe has root rot?
Your plant may display a range of symptoms depending on the severity of the fungal infection and its overall condition. Some of the more common signs include smelly soil, yellowing leaves, and a wilted, dying appearance. Unpotting and inspecting the roots directly is the most reliable way to confirm root rot.
Should I remove yellow leaves from my aloe vera?
Trim fully yellow leaves at the base with sterilized scissors to redirect energy to healthy growth. Only remove them if they’re more than 90% yellow and feel soft or mushy. Partially yellow leaves still photosynthesize and support the plant.
How often should I water my aloe vera to prevent yellowing?
There’s no fixed schedule that works for every home. Water only when the top 3 inches of soil are bone-dry and the pot feels significantly lighter. In summer, this may be every 10–14 days; in winter, every 4–6 weeks.
Can pests cause aloe vera to turn yellow?
Yes. Leaf yellowing can be caused by overwatering, under-watering, under-fertilization, too little light, too much light, pest feeding, and a few other factors. Sap-sucking insects like aphids, mealybugs, and scale are the most common pest culprits, and they’re often found on leaf undersides where they’re easy to miss.
Is it normal for the bottom leaves of my aloe to turn yellow?
Yellowing leaves are not “natural” unless they’re the oldest, lowest pair — gently detaching at the base after 18–24 months. Even then, the transition is gradual, dry, and parchment-like — not soft, translucent, or spongy. A single, dry, outermost leaf yellowing slowly is nothing to worry about.
What soil mix is best for preventing aloe vera from turning yellow?
Aloe requires rapid drainage: a blend where at least 50% consists of inorganic, non-decomposing particles such as perlite, pumice, or coarse sand, and no more than 30% organic matter. A commercial cactus and succulent mix with extra perlite added works well for most US growers.