Orchid Leaves Turning Yellow: Every Cause Explained and How to Fix It

September 15, 2026
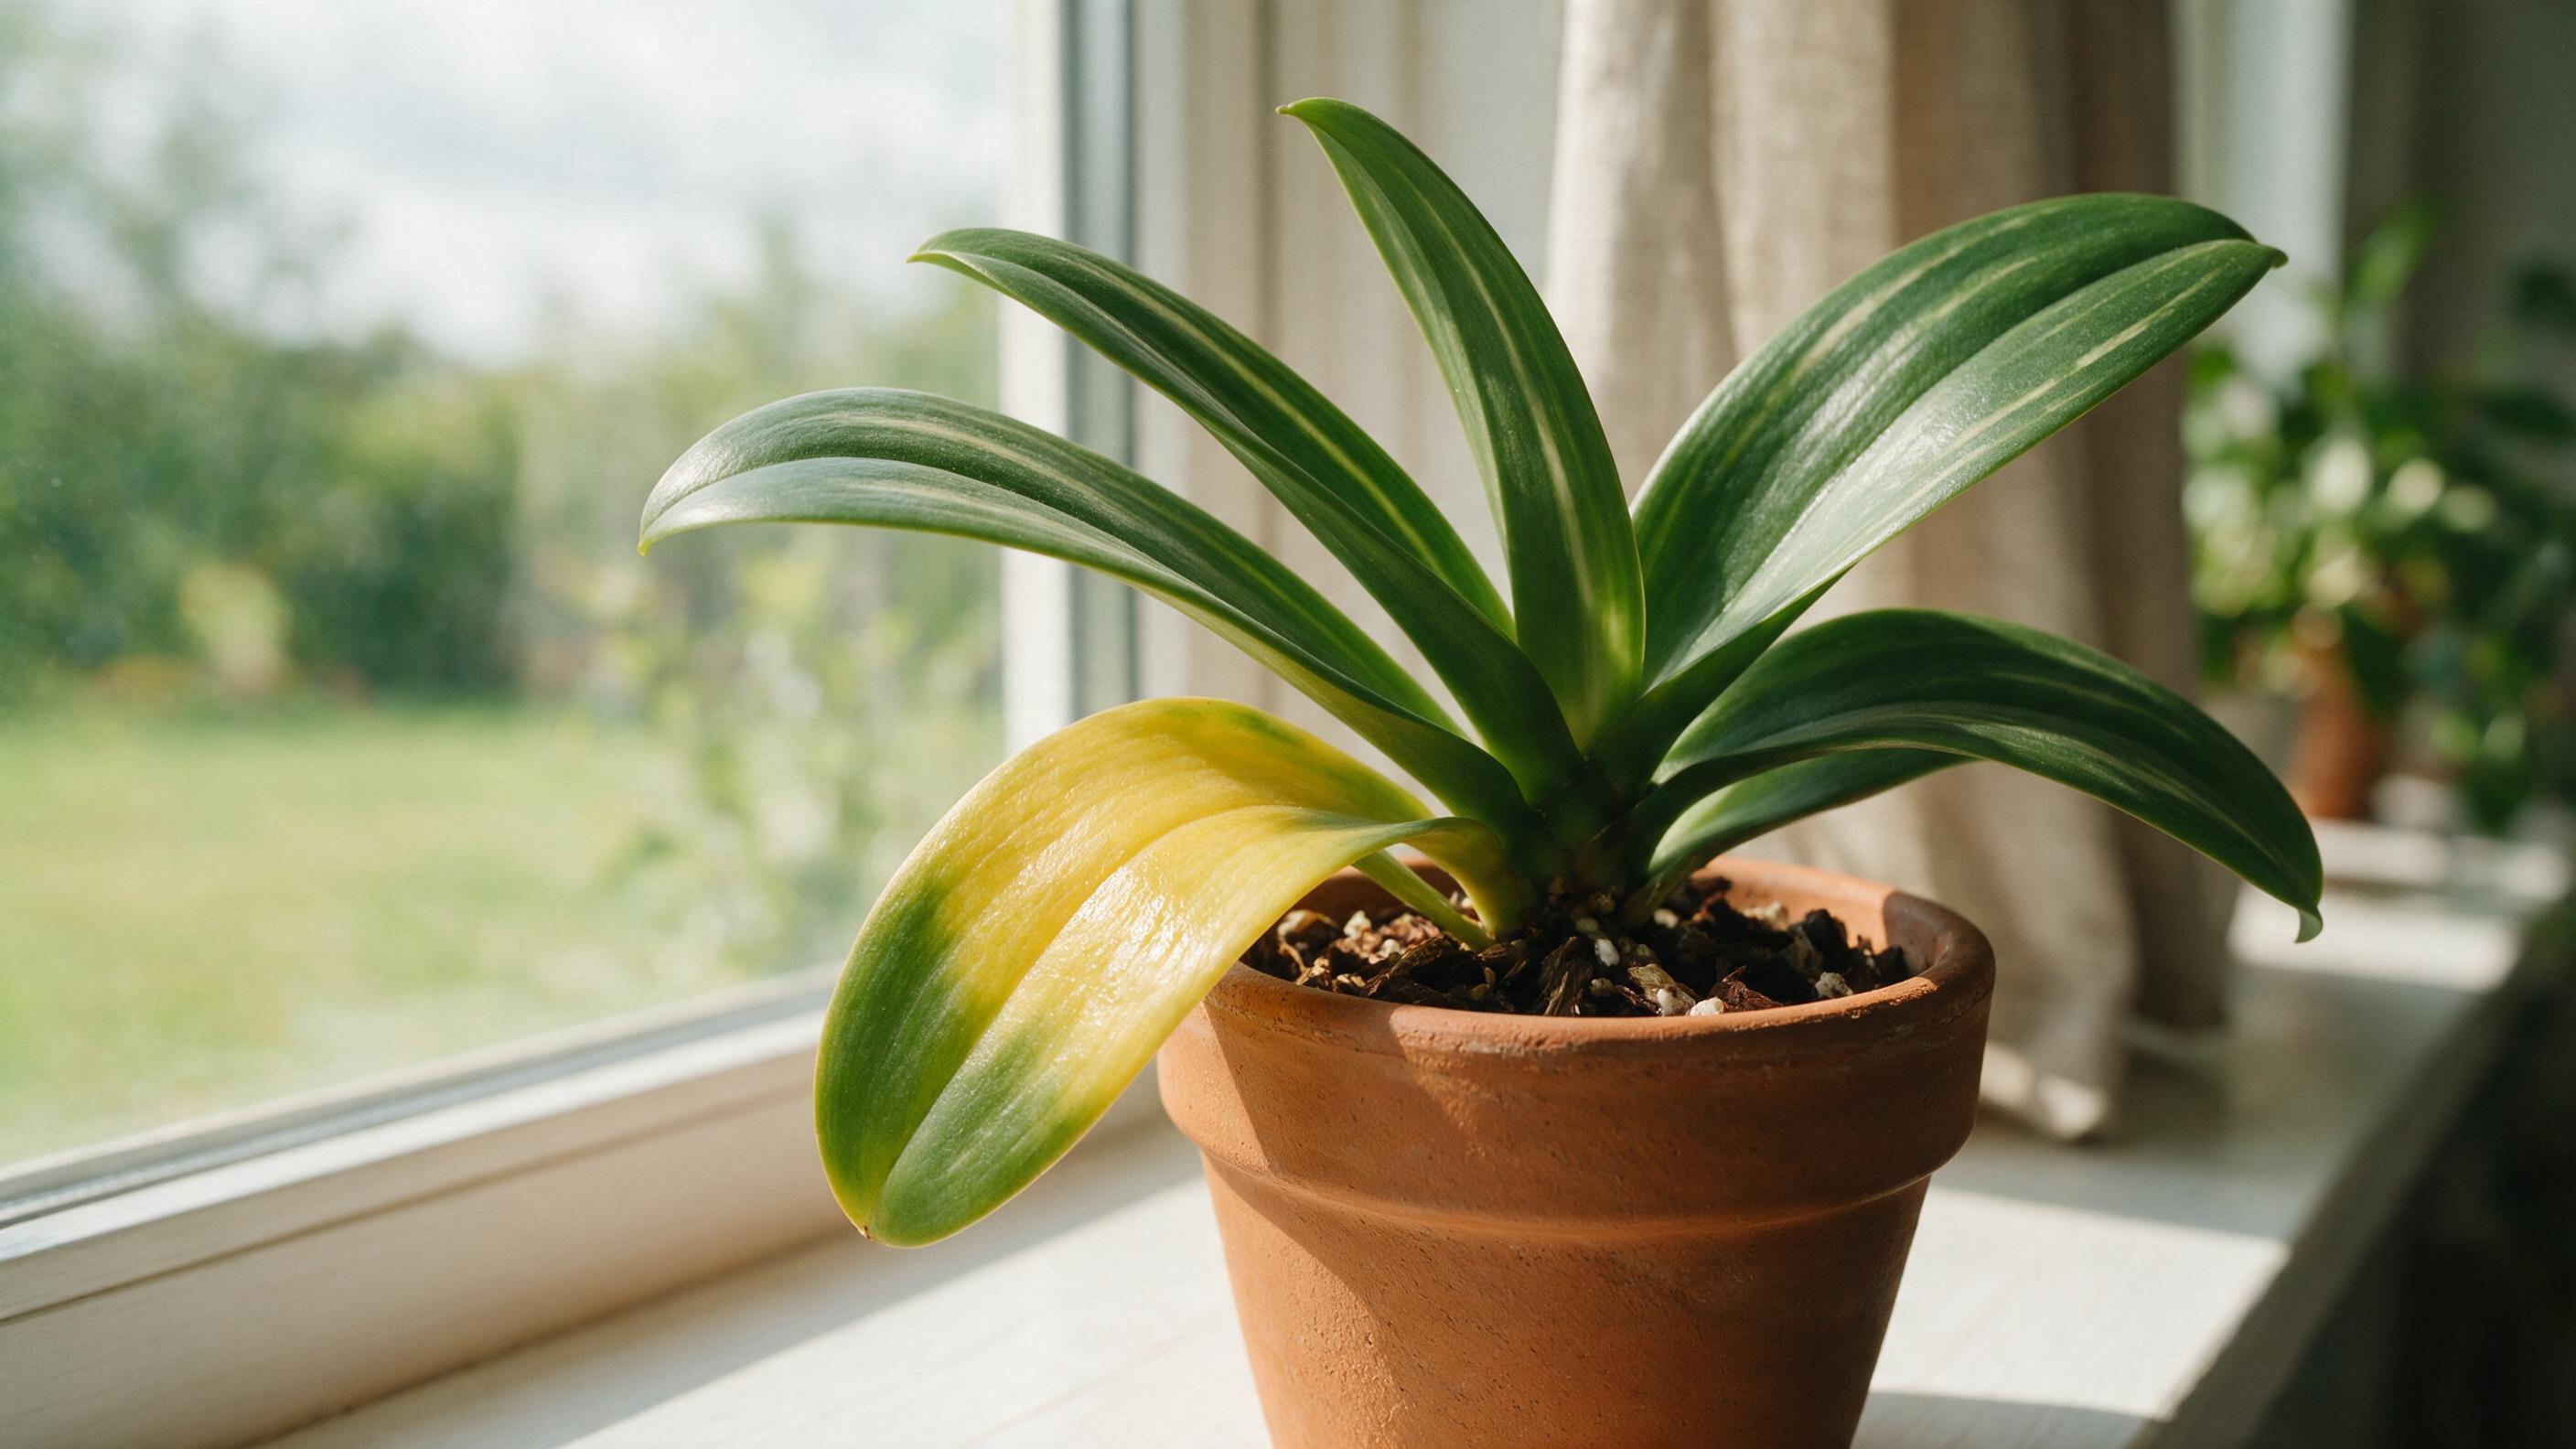
Yellow leaves on your orchid can stop you in your tracks. You brought this plant home, gave it a spot by the window, watered it faithfully — and now the leaves are losing their color. Before you assume the worst, know that yellowing is one of the most common orchid complaints in the United States, and in many cases, it has a straightforward fix.
Yellow leaves on orchids can stem from various reasons such as overwatering, nutrient deficiencies, light or temperature stress. But they can also be a sign of nothing more than normal aging. The key is knowing which situation you’re actually dealing with — and this guide walks you through every possibility, from diagnosis to solution to prevention.
What Does It Mean When Your Orchid Leaves Are Turning Yellow?
Orchid leaves turning yellow can be a symptom of a health issue, but it can also be a normal part of the plant’s growth cycle. This makes it difficult for beginner growers to know what’s going on. The most important thing you can do first is look at which leaves are yellowing and how quickly the change is happening.
Orchids use their roots to acquire both water and nutrients. If the root system is suddenly compromised, the leaves of the plant will turn yellow as they are sacrificed for these resources. In other words, yellow leaves are often your orchid’s way of redirecting energy — a distress signal worth paying attention to.
The most common culprits include overwatering, underwatering, too much or too little light, nutrient imbalances, environmental stress, pests, and disease. Identifying these causes is key to implementing effective solutions to restore the plant’s health. The good news: most cases are entirely reversible once you pinpoint the cause.
Pro Tip: Check whether the yellowing starts on the oldest, lowest leaves or on newer growth near the top. That single observation narrows down the cause significantly before you change anything about your care routine.
Is Yellowing in Orchids Always a Sign of a Problem?
Not at all. Old orchid leaves tend to turn yellow and fall off. It is completely natural for old leaves to eventually turn yellow and fall off. A mature orchid will lose about 2 leaves per year, naturally. If you notice only the bottom-most, oldest leaves changing color while the rest of the plant looks healthy, you are almost certainly watching a normal process.
The old leaves store nutrients and water for the development of new growth. Once these leaves are exhausted of their nutrients, they will simply fade to yellow and fall off naturally. Think of it as the plant recycling its own resources.
Orchids with thin leaves that grow atop or alongside pseudobulbs will naturally shed their leaves after 2 to 4 new generations of pseudobulbs have been produced. Similarly, for certain types of orchids, such as Dendrobium, leaf yellowing is often the first sign of the natural deciduous cycle that occurs during the cool, dry winter season.
However, excessive yellowing — particularly affecting new growth — is one of the more concerning orchid leaf problems. If multiple leaves across the plant are yellowing at once, or if the color change is happening on young leaves near the crown, that warrants a closer look at your care conditions.
Watering Issues Causing Orchid Leaves to Turn Yellow
Water — too much or too little — is the single most common reason orchid leaves turn yellow. The most common reason an orchid’s leaves are turning yellow is from overwatering. Orchid roots need a lot of air circulation and hate to be kept damp and soggy. Soggy roots are prone to root rot, which makes the plant vulnerable to many different issues.
Overwatering can lead to root rot, which is a serious problem that can kill your orchid. If you think you have an overwatered orchid, the first thing you should do is check the potting mix. If the mix is soggy or wet, it’s a sure sign that you’re giving your orchid too much water. You may also notice the roots turning brown and mushy when you lift the plant from its pot.
Underwatering is equally problematic on the other end. If an orchid is dehydrated, its leaves may turn yellow and wrinkled. If orchids don’t receive enough water, the leaves can also turn yellow from dehydration. Wrinkled, leathery texture alongside yellowing is a strong indicator that your plant is thirsty rather than waterlogged.
| Watering Problem | Leaf Appearance | Root Appearance | Fix |
|---|---|---|---|
| Overwatering | Yellow, soft, limp | Brown, mushy | Let medium dry; repot if roots are rotted |
| Underwatering | Yellow and wrinkled | Gray, dry, shriveled | Soak thoroughly; increase watering frequency |
A reliable watering schedule for most Phalaenopsis orchids grown indoors in the US: give your orchids a drink once every 7–10 days in winter and twice a week in summer. Always water at the base, not the crown, and avoid overwatering your plant by ensuring all the excess water has drained out. Never let your orchid sit in standing water in a decorative pot without drainage.
Light Conditions Behind Orchid Leaf Yellowing
Light is a balancing act for orchids. Too much direct sunlight can scorch the leaves, causing them to turn yellow, while too little light can weaken the plant over time. Both extremes produce yellowing, but the pattern looks different in each case.
An orchid with yellowing leaves may have been exposed to direct sunlight. You may see a white patch with dark brown spots surrounded by yellow. That bleached or scorched appearance is a clear sign of sun damage. On the other hand, a plant that is not getting enough light exposure usually has dark green leaves that eventually weaken and yellow as the plant struggles to photosynthesize.
The fix is simple: place the orchid in a spot where it receives bright, indirect light. If exposed to direct sunlight, use a sheer curtain to diffuse the intensity. In the US, east- or north-facing windowsills work well for most Phalaenopsis orchids — they catch morning light without the harsh afternoon sun that southern and western exposures deliver.
If you want to display your Phalaenopsis orchid on a windowsill, north and east-facing windows are best as they provide the least direct sun exposure. If natural light is limited in your space, orchids also do well in artificial light. A grow light on a 12–14 hour timer placed 12 inches above the plant can substitute effectively for a window. You can use a plant identification app to cross-reference your orchid type and confirm its ideal light requirements.
Pro Tip: Hold your hand about 12 inches above your orchid in its current spot. If it casts a sharp, dark shadow, the light is likely too intense. A soft, faint shadow is the sweet spot for most orchids.
Soil, Nutrients, and Root Health Causing Orchid Leaf Yellowing
Orchids are not typical houseplants — they grow in bark-based media, not soil, and their nutrient needs are specific. Getting this wrong in either direction leads to yellow leaves.
A deficiency in essential nutrients, particularly nitrogen, can cause orchid leaves to turn yellow. Deficiencies in calcium and magnesium can lead to yellow patches or a general chlorosis (pale coloring), typically beginning with the younger leaves. Calcium is crucial for cell wall structure, while magnesium is a key component of chlorophyll.
Overfertilizing is just as damaging. Overfertilizing can burn or damage the roots of the orchid plant. The orchid roots are responsible for taking up water and nutrients from the potting mix, and if they are damaged, it can cause orchid leaves to turn yellow. Salt buildup from excess fertilizer is a common problem for orchid growers who apply fertilizer too frequently or at full strength.
Orchids are light feeders, so infrequent feedings are ideal, and you do need to dilute. You’ll want to cut the strength by one-quarter to one-half when compared to the fertilizer you use with other houseplants. If you suspect fertilizer buildup, you can try to leach or flush the potting mix to remove any fertilizer salts that have accumulated. To leach the potting mix, water your orchid until water runs out of the bottom of the drainage holes in the pot. This will help remove any fertilizer buildup in the potting mix.
Root health also takes a hit after repotting. If a recent orchid repotting required root removal or potting media replacement, your plant may experience temporary transplant shock. Root removal will have decreased your orchid’s water absorption capacity, and your plant may be decreasing its leaf quantity to compensate. The introduction of fresh potting media will have introduced a large change in pH for the root system as well, which will temporarily decrease nutrient absorption ability until the roots acclimate.
For fertilizing, a balanced water-soluble orchid fertilizer is the easiest solution — apply weekly or bi-weekly according to the manufacturer’s instructions. Cease fertilizing when the flowers drop, and wait until new leaves begin to grow before starting again. Explore different plant types to understand how orchid feeding compares to other houseplants you may be growing.
Environmental Stress Triggering Orchid Leaf Yellowing
Orchids are more sensitive to their surroundings than most common houseplants. Orchids hate extreme hot and cold, and sudden temperature fluctuations. American homes present several environmental challenges — forced-air heating in winter, air conditioning in summer, and drafty windows — all of which can stress your orchid into producing yellow leaves.
Exposure to low temperatures can cause the orchid’s leaves to turn yellow as the plant becomes stressed. High temperatures, especially in combination with direct sunlight, can burn the leaves, causing them to yellow and potentially even scorch. Drafts from heating and cooling vents are a particularly sneaky culprit in US homes, since the air blowing directly on the plant causes rapid temperature swings.
Most orchids prefer temperatures between 65–75°F (18–24°C) during the day and slightly cooler at night. Move orchids away from drafty windows in the winter and out of direct sunlight in the summer. Keep them away from exterior doors, air conditioning vents, and heating registers.
Stagnant air and high humidity can lead to fungal diseases, which may cause yellowing leaves. Improve air circulation around the plant. If indoor air is stale, use a small fan to gently move the air around orchids. The ideal indoor humidity for most orchids is 50%–70%. A small humidifier or a pebble tray with water placed near your orchid can help maintain that range, especially during dry US winters when indoor heating strips moisture from the air.
Pests and Disease Leading to Orchid Leaf Yellowing
When watering, light, and environment all check out but your orchid is still yellowing, pests or disease may be responsible. Orchids are susceptible to a number of insects, bugs, and mites, including aphids, mealybugs, scales, twospotted spider mites, and thrips. Aphids, mealybugs, and soft scales use their mouthparts to suck sap from orchid plants. They can curl, yellow, or stunt growth of leaves and can reduce flower production and stem growth.
Scale insects attach themselves to the stems and leaves of orchids and other houseplants. Soft-scale insects are white and cottony. Hard-scale insects are small, oval, and flat with a hard brown shell. When they take over a plant, it will start to look withered and sickly. Leaves will turn yellow and may even drop from the plant.
Spider mites are another common offender, especially in dry indoor environments. Silver streaking or stippling on leaves with fine webbing underneath indicates spider mites. Use a dedicated miticide. Raise humidity. Mealybugs, meanwhile, are soft-bodied insects covered in a waxy white powder that gives them a cottony, fluffy appearance. They congregate in groups, favoring the hidden crevices of an orchid: leaf axils, along the mid-rib on the underside of leaves, inside the sheaths around pseudobulbs, and in the folds around roots.
On the disease side, fungal or bacterial diseases lead to yellow spots and then turn the foliage yellow. They also cause leaf, stem, and root rot. If your orchid has a spotty appearance but smells fine, it’s likely a fungal infection. A foul odor combined with soft, mushy tissue typically points to bacterial rot, which requires more urgent action.
Important Note: Always isolate any orchid showing signs of pest infestation from your other houseplants immediately. As noted by Blooming Expert , a mealybug infestation that starts on one plant can spread to an entire collection within weeks.
How to Diagnose Why Your Orchid Leaves Are Turning Yellow
A systematic look at your plant takes less than two minutes and will point you toward the right answer almost every time. Work through these observations before changing anything about your care routine.
- Check which leaves are affected. Yellowing on the oldest, lowest leaves only = likely natural aging. Yellowing on new growth or multiple leaves at once = a care or environmental problem.
- Inspect the roots. The roots may appear brown and mushy if the plant is overwatered, or dry and shriveled if underwatered, both of which signal stress. Healthy roots are green when wet and silvery-white when dry.
- Check the potting medium. If it is soggy and has not dried out in over two weeks, overwatering is the likely culprit. If it is bone dry and the leaves feel wrinkled, underwatering is to blame.
- Look at the leaf surface closely. Look for white fuzz (mealybugs), brown bumps (scale), fine webbing (spider mites), tiny flying insects (fungus gnats), soft or discolored tissue (bacterial or fungal disease), and sticky residue or black coating on leaves indicating a sap-sucker is active.
- Consider recent changes. Did you move the plant, repot it, change your watering schedule, or bring home a new plant? If a recent orchid repotting required root removal or potting media replacement, your plant may experience temporary transplant shock.
- Assess the environment. Is the plant near a heating vent, air conditioner, or drafty window? Is the room particularly dry? These conditions are common in American homes and easy to overlook.
If you are still unsure after this check, a plant identification app for Android can help you cross-reference symptoms with common orchid conditions, or connect you with an online orchid community for a second opinion.
How to Fix an Orchid That Has Yellow Leaves
Once you know the cause, the fix is usually manageable. Here is how to address each scenario.
For overwatering and root rot: If your orchid is suffering from root rot, repotting your plant in a fresh new potting medium will set it on the path to recovery. If your orchid still has some healthy green roots, trim the rotted roots with sterile scissors before repotting. After repotting, hold off on watering for 3–5 days to let any cut root ends callous over.
For underwatering: Increase watering frequency, ensuring the potting medium is moist but not soggy. Soak the orchid until water runs freely from the bottom of the pot. Do this once, then return to a consistent schedule rather than overcompensating with daily watering.
For nutrient deficiency: The best way to fix the problem is to fertilize your orchid with a fertilizer that contains all of the essential nutrients. When using fertilizer, it’s important to follow the directions on the label. It’s also important to remember that orchids are light feeders and don’t need as much fertilizer as other plants. Resume regular feeding during the growing season and pause when blooming ends.
For pests: A cotton swab dipped in 70% isopropyl alcohol is the safest and most effective first-line treatment for mealybugs and scale on orchids. For spider mites, raise humidity and apply a dedicated miticide. The plant should be inspected again every week and the procedure repeated until no infestation is visible.
For fungal disease: Treat the plant for overwatering, repot, trim off any affected tissue with clean, sharp tools, and treat cuts with a fungicidal agent. Improve air circulation around the plant going forward. You can also review our guide to low-light houseplants if you want to move your orchid to a better-ventilated spot and replace it with something better suited to dim conditions.
What to do with the yellow leaf itself: Instead of removing the yellow leaf, allow it to fall off once the orchid has fully used up its resources. Dried, brown leaves can be removed since they no longer provide any benefit to the plant. If there are additional symptoms such as brown spotting, this may be caused by a leaf fungal or bacterial pathogen. In this case, it is best to remove the leaf to prevent the spread of the pathogen throughout the orchid or to other nearby plants.
How to Prevent Orchid Leaf Yellowing Going Forward
Consistent care prevents most yellowing problems before they start. These habits, applied routinely, keep the vast majority of orchids healthy year-round in US homes.
- Water on a schedule, not by feel alone. To fix and prevent the yellow leaf issue, set up your watering routine. Give your orchids a drink once every 7–10 days in winter and twice a week in summer. Always check that the bark medium has partially dried before watering again.
- Use the right potting medium. Orchids need fast-draining bark or sphagnum moss — never regular potting soil, which retains too much moisture and suffocates roots.
- Feed lightly and consistently. During the growing season, fertilize the orchid 1–2 times a month using a balanced fertilizer. Use a formula specifically designed for orchids and dilute it to half strength.
- Maintain stable temperatures. Keep your orchid away from heating vents, air conditioning units, and cold drafts. Aim for 65–75°F during the day.
- Inspect weekly for pests. A 30-second inspection once a week — flip a leaf, check the axils, look at the roots — prevents months of damage and potential plant loss.
- Quarantine new plants. Every new orchid that enters your home should spend 2–3 weeks in strict quarantine, physically separated from your existing plants. This is the rule that experienced growers follow and beginners skip — and it is the single most common reason collections develop widespread pest problems.
- Repot every 1–2 years. Fresh bark breaks down over time and holds too much moisture. Repotting on a regular cycle keeps the root environment airy and healthy.
Understanding leaf health is part of broader plant literacy. Reviewing our guide to types of leaves can help you recognize normal vs. stressed foliage across all your houseplants, not just orchids. If you grow other tropical plants alongside your orchid, our resource on companion planting may also offer useful context on grouping plants with similar humidity and light needs.
Pro Tip: Take a photo of your orchid once a month from the same angle and distance. This simple habit makes it easy to catch gradual changes — like slow yellowing or root decline — that are nearly invisible day to day.
FAQ
Should I cut off yellow orchid leaves?
Only remove a yellow leaf if it has also developed brown spots, soft tissue, or a foul smell — signs of fungal or bacterial disease. Your orchid’s best use of its leaves is for conducting photosynthesis, the mechanism by which it produces sugars that fuel its growth and eventual flowering. If the plant has been forced to source nutrients from its leaf, it has been out of necessity. Let a purely yellowing leaf fall on its own so the plant can reclaim every bit of nutrition from it first.
Can yellow orchid leaves turn green again?
Generally, no. Once a leaf has yellowed, the chlorophyll in that tissue is gone and the color change is permanent. Your goal is to stop additional leaves from yellowing by correcting the underlying cause. New growth that emerges after you fix the problem will come in healthy and green.
Why are my orchid’s bottom leaves turning yellow but the top looks fine?
A mature, lower orchid leaf turning yellow is usually nothing to worry about. This is typical behavior, as the plant is getting ready to shed the leaf so that new growth can form. As long as the upper leaves are firm, glossy, and green, this is natural leaf drop and requires no intervention.
How do I know if my orchid has root rot?
Remove the plant from its pot and examine the roots. Healthy roots are plump and either bright green (when freshly watered) or silvery-white (when dry). Rotted roots are brown, black, or gray and feel soft and mushy when pressed. If your orchid still has some healthy green roots, trim the rotted roots with sterile scissors before repotting.
What is the best fertilizer for preventing yellow orchid leaves?
The best way to prevent overfertilization is to fertilize your orchid less often and use a fertilizer specially formulated for orchids. When fertilizing your orchid, it’s best to use a diluted fertilizer solution. A balanced 20-20-20 formula diluted to half strength works well for most Phalaenopsis varieties grown indoors in the US.
Can pests cause yellow leaves even if I don’t see any bugs?
Yes. Orchid pests are frustratingly good at hiding — they tuck into crevices, lurk beneath leaves, and by the time you spot them they’ve often been feeding for weeks. Use a magnifying glass and check leaf undersides, axils, and root collars carefully. Spider mites and early-stage scale are extremely difficult to see with the naked eye. If you suspect pests but cannot confirm them, OrchidWeb’s yellowing leaf guide offers detailed visual descriptions of each pest and its damage patterns.
Whether you have a classic Phalaenopsis moth orchid or a more unusual variety, the principles here apply broadly. For more on the wide range of houseplants you can grow alongside your orchid, browse our overview of types of plants, or check out our care tips for rubber plants and aloe vera varieties — two other popular indoor plants that share some of the same light and watering sensitivities as orchids.